Singer 301A Sewing Machine Manual: A Comprehensive Plan
This plan details accessing original and reproduction manuals, including instruction and service types, for the Singer 301A.
Coil binding enhances usability, offering flat or folded viewing.
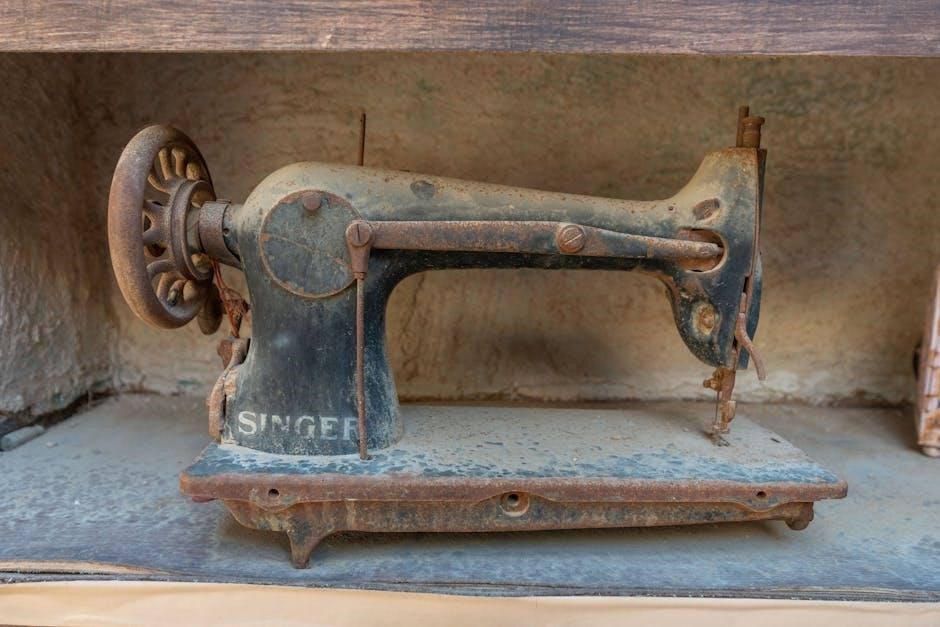
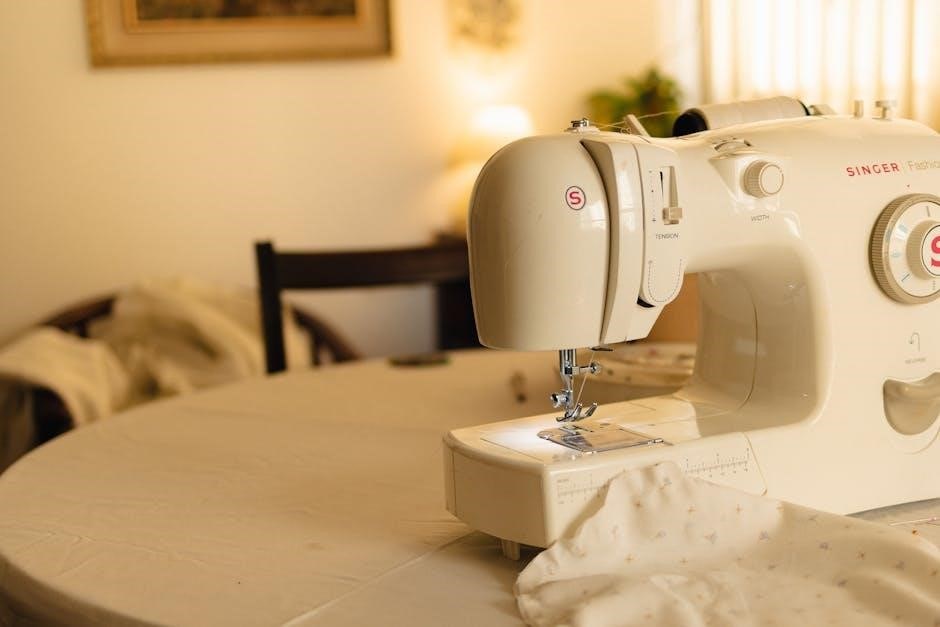
The Singer 301A, a stalwart of mid-20th century sewing machines, remains highly sought after by enthusiasts today. Renowned for its robust construction and reliable performance, this machine offers a unique blend of mechanical simplicity and sewing capability. Understanding its operation, however, relies heavily on access to comprehensive documentation – the Singer 301A sewing machine manual.
These manuals, available in original and reproduction formats, are crucial for both novice users and experienced repair technicians. Whether you’re learning to thread the machine, diagnose a common issue, or perform intricate adjustments, a dedicated manual is indispensable. The availability of both instruction and service manuals caters to a wide range of needs, ensuring long-term usability and preservation of this classic machine.
Historical Context of the Singer 301A
Introduced in 1956, the Singer 301A emerged during a period of significant domestic change, reflecting a growing demand for reliable home sewing solutions. As a successor to earlier Singer models, it incorporated advancements in design and manufacturing, aiming for improved performance and user experience. The original 1956 manual, form 20542, revision 356, served as the primary guide for owners navigating this new technology.
Its popularity stemmed from its ability to handle a variety of fabrics and sewing tasks, making it a versatile tool for home dressmaking and repairs. Today, the enduring appeal of the 301A is fueled by a desire to reconnect with a simpler, more durable era of manufacturing, and the availability of manuals – both original and reproduced – sustains its legacy.
Availability of Manuals (Original vs. Reproduction)
Finding a Singer 301A manual presents options: original vintage copies and high-quality reproductions. Original manuals, like the 1956 copyright version (form 20542, rev. 356), are increasingly rare and often show signs of age, such as cover scuffs, yet hold collector value. Reproduction manuals, often coil-bound for convenient flat or folded use, offer clear text and illustrations on glossy paper.
Reprinted versions, like those from The Old Singer Shop, provide accessibility and affordability. Service and adjuster manuals, also available as facsimiles, contain detailed adjustment instructions, wiring diagrams, and parts lists. Choosing depends on preference – authenticity versus practicality and cost.
Understanding Manual Types: Instruction vs. Service
Singer 301A manuals fall into two primary categories: Instruction and Service/Adjusters. Instruction manuals, like the original 1956 version, guide users through basic operation – threading, bobbin winding, stitch selection, and starting/stopping. They are ideal for everyday sewing tasks and understanding the machine’s fundamental functions.
Service and Adjusters manuals, conversely, are geared towards repair and maintenance. These detailed guides contain adjustment instructions, wiring diagrams, and comprehensive parts lists, crucial for addressing mechanical issues and performing in-depth servicing. They pinpoint electrical points of wear and facilitate precise timing adjustments, requiring technical expertise.
Key Components and Their Functions
Understanding the handwheel, bobbin winding, needle/presser foot, and feed dog systems is vital for operating and maintaining the Singer 301A effectively.
The Handwheel and its Operation
The handwheel is the primary control for the Singer 301A, dictating the machine’s speed and stitch formation. Rotating it clockwise engages the mechanism, while counter-clockwise allows for manual needle positioning.
Precise control is achieved through gradual rotation; faster turns yield quicker stitching.
It’s crucial to never force the handwheel, especially when encountering resistance, as this could indicate a problem within the machine. Always ensure the bobbin is correctly inserted and threaded before operation.
The handwheel’s smooth rotation signifies proper lubrication and functionality. Regular inspection ensures optimal performance and prevents potential damage to internal components. Mastering handwheel control is fundamental to successful sewing with the 301A.
Bobbin Winding Mechanism
The Singer 301A features a dedicated bobbin winding system, essential for preparing the lower thread. Initially, thread is guided from the spool, through tension discs, and onto the bobbin core. Engaging the bobbin winder lever disengages the needle, directing power solely to the winding mechanism.
Consistent thread tension is vital for evenly wound bobbins; adjust the tension screw if needed. A full bobbin automatically stops winding, preventing overfilling. Correct bobbin winding ensures smooth, balanced stitching. Improper winding can lead to thread nests and inconsistent stitch quality. Regularly cleaning the bobbin area removes lint and debris, maintaining optimal performance of this crucial component.
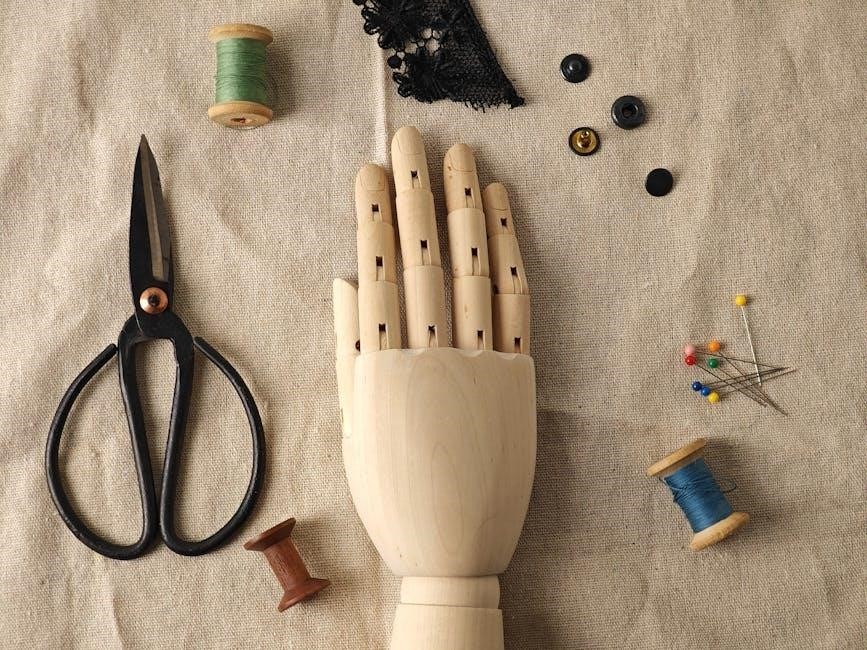
Needle and Presser Foot System
The Singer 301A’s needle and presser foot work in harmony to precisely feed fabric through the machine. The needle, selected based on fabric weight, oscillates vertically, creating the stitch. The presser foot maintains consistent pressure, ensuring even fabric movement.
Adjusting presser foot pressure is crucial for various materials – lighter fabrics require less pressure, while heavier ones need more. Different presser feet are available for specialized tasks like zippers or buttonholes. Proper needle insertion and tightness are vital for preventing breakage and skipped stitches. Regularly inspect the needle for damage and replace as needed, ensuring optimal stitch formation and fabric handling.
Feed Dog and Stitch Length Control
The Singer 301A utilizes feed dogs – toothed metal components – to advance fabric under the needle with each stitch. These dogs move in a consistent, rhythmic motion, ensuring even fabric feeding. Stitch length is controlled via a lever or dial, allowing users to adjust the distance between stitches.
Shorter stitch lengths are ideal for delicate fabrics or intricate details, while longer lengths are suitable for heavier materials or quicker sewing. Understanding this control is key to achieving desired seam strength and appearance. Proper feed dog cleaning prevents fabric snagging and ensures smooth operation. Regular adjustments guarantee consistent stitch quality across various fabric types.
Operating Instructions
Mastering the Singer 301A involves precise threading, bobbin insertion, stitch selection, and understanding the start/stop mechanisms for optimal sewing performance.
Threading the Singer 301A
Proper threading is crucial for consistent stitch quality on your Singer 301A. Begin by ensuring the machine is unplugged and the presser foot is raised. Guide the thread from the spool pin, through the first thread guide, and then down to the tension discs – confirm the thread seats firmly between them.
Next, lead the thread up and around the take-up lever, ensuring it engages correctly. Continue down to the needle clamp, and finally, thread the needle from front to back. A correctly threaded machine will allow smooth thread flow, preventing issues like skipped stitches or thread breakage. Refer to diagrams in your manual for visual guidance, as incorrect threading is a common cause of sewing problems.
Winding and Inserting the Bobbin
Preparing the bobbin correctly is essential for smooth sewing with your Singer 301A. First, place the spool of thread on the spool pin. Then, guide the thread through the bobbin winding tension disc and onto the bobbin. Engage the bobbin winder by sliding the bobbin winder drive wheel to the right.
Press the foot pedal gently to begin winding; the machine will automatically stop when the bobbin is full. Once wound, disengage the winder and remove the bobbin. To insert, open the bobbin case cover and place the bobbin in the case, ensuring it rotates in the correct direction as indicated by the arrow. Finally, guide the thread through the tension spring before closing the cover.
Selecting Stitch Types and Length
The Singer 301A offers a versatile range of stitch options, primarily focused on straight stitching. Stitch length is adjusted using the stitch length dial located on the machine’s front. Rotating the dial clockwise increases the stitch length, while counterclockwise decreases it. Experiment with different settings on scrap fabric to achieve your desired result.
While primarily a straight-stitch machine, the 301A can achieve zigzag effects through specific techniques and optional attachments. Understanding the stitch length control is crucial for various fabric weights and sewing applications. Always test your chosen stitch length before beginning your project to ensure a neat and professional finish.
Starting and Stopping the Machine
To begin sewing, ensure the machine is properly threaded and the bobbin is correctly inserted. Gently turn the handwheel towards you to lower the needle into the fabric. Then, depress the foot pedal to initiate sewing. Maintain a consistent, moderate speed for optimal stitch quality.
Stopping the machine is equally straightforward. Release the foot pedal, and the machine will cease operation. Always raise the presser foot and needle before pulling the fabric away to prevent fabric bunching or needle breakage. Never force the handwheel; allow it to move freely. Proper starting and stopping techniques contribute to a smooth and efficient sewing experience.

Maintenance and Troubleshooting
Regular cleaning and lubrication are vital for optimal performance. Addressing thread breakage and tension issues ensures smooth operation and extends the machine’s lifespan.
Regular Cleaning Procedures
Maintaining a clean Singer 301A is crucial for its longevity and performance. Dust and lint accumulate during sewing, impacting stitch quality and potentially causing mechanical issues. Begin by disconnecting the power source for safety. Use a soft brush – an old toothbrush works well – to remove lint from the bobbin area, feed dogs, and around the needle plate.
A small vacuum cleaner with a brush attachment can also be helpful for reaching tight spaces. Wipe down the exterior surfaces with a slightly damp cloth; avoid harsh chemicals or abrasive cleaners. Pay attention to oil points, ensuring they remain clear of debris. Consistent cleaning, even after each use, prevents build-up and ensures smooth, reliable operation of your vintage Singer.
Oil Points and Lubrication
Proper lubrication is vital for the Singer 301A’s smooth operation and preventing wear. The service manual details specific oil points, crucial for minimizing friction and ensuring longevity. Key areas include the motor bearings, the gear train, the needle bar, and the bobbin winder mechanism. Use a high-quality sewing machine oil – never use general-purpose oils – and apply sparingly.
Excess oil attracts dust and lint, creating a gummy residue. After oiling, run the machine briefly to distribute the lubricant. Regular oiling, as outlined in the service manual, prevents electrical points of wear and maintains optimal performance. Consistent attention to lubrication safeguards your Singer 301A for years to come.
Troubleshooting Common Issues (Thread Breakage)
Thread breakage on the Singer 301A is a frequent issue with several potential causes. First, ensure correct threading, following the manual’s diagrams precisely. Incorrect threading creates excessive friction. Next, check the needle – a bent or dull needle significantly increases breakage. Use the correct needle type and size for your fabric.
Tension imbalances are another common culprit; adjust both upper and bobbin tension as detailed in the service manual. Finally, lint buildup within the tension discs or around the bobbin case can cause problems. Regular cleaning, as outlined in maintenance procedures, is essential for preventing thread breakage and ensuring smooth sewing.
Addressing Tension Problems
Proper tension is crucial for achieving balanced stitches on the Singer 301A. Incorrect tension results in looping, puckering, or weak seams. Begin by re-threading both the upper thread and the bobbin, ensuring they are seated correctly. The service manual provides detailed adjustment instructions.
Adjust the upper tension dial incrementally, testing after each adjustment with a scrap fabric. Simultaneously, check the bobbin tension; slight adjustments here can significantly impact stitch quality. Remember that fabric type influences optimal tension settings. Refer to the manual’s guidelines for different materials. Consistent testing and careful observation are key to resolving tension issues.
Service and Adjustments
Detailed service manuals offer adjustment instructions, wiring diagrams, and parts lists for the Singer 301A, aiding in precise machine maintenance and repair.
Adjusting Stitch Tension
Proper stitch tension is crucial for quality sewing on the Singer 301A. Service manuals provide detailed instructions for adjusting both upper and lower tensions. Begin by testing on a scrap fabric, observing the stitch formation.
If the top thread pulls through the fabric, loosen the upper tension. Conversely, if the bobbin thread pulls to the top, tighten the upper tension. Small adjustments are key; incremental changes prevent overcorrection.
Refer to the parts diagram within the service manual to locate the tension screws. Ensure the screws are not overly tightened, as this can damage the mechanism. Consistent tension leads to balanced, professional-looking stitches, enhancing the longevity and performance of your Singer 301A.
Timing the Machine
Accurate timing is essential for the Singer 301A’s smooth operation. The service manual outlines a precise procedure for re-timing the machine, crucial after replacing components like the shuttle or needle bar. This involves aligning the needle’s position with the shuttle’s rotation at the bottom of the stroke.
Incorrect timing results in skipped stitches or needle breakage. The adjuster’s manual details how to loosen the appropriate screws and carefully rotate the shuttle timing mechanism.
Use a test fabric and observe the stitch formation after each adjustment. Refer to the diagrams for correct alignment points. Precise timing ensures optimal performance and prevents damage to the machine’s delicate internal parts, extending its lifespan.
Electrical Points of Wear
The Singer 301A, while mechanically robust, has specific electrical components prone to wear over time. The service and adjuster’s manual highlights these areas for inspection and potential replacement. Key points include the motor brushes, which gradually wear down with use, impacting the machine’s power.
Wiring insulation can become brittle and crack, creating a short circuit risk. The manual’s wiring diagram is invaluable for tracing and repairing these connections.
Inspect the foot controller cord for damage and the switch for proper function. Regular checks of these electrical points, as detailed in the manual, ensure safe and reliable operation, preventing unexpected failures and costly repairs.
Parts List and Diagrams
A comprehensive parts list is crucial for Singer 301A maintenance and repair, and is a key feature of both service and adjuster manuals. These lists provide numerical identification for every component, facilitating accurate ordering of replacements. Detailed diagrams accompany the lists, visually illustrating the location and assembly of each part.
The diagrams are invaluable for understanding the machine’s internal structure and proper reassembly after servicing.
Reproduction manuals often include enhanced, clearer diagrams compared to originals. Access to these resources minimizes downtime and ensures the longevity of your Singer 301A, allowing for efficient and accurate repairs.

Resources and Further Information
Explore online forums and communities for support, alongside parts suppliers specializing in the Singer 301A. Wiring diagrams aid electrical troubleshooting and repair efforts.
Online Forums and Communities
Engaging with online forums and communities dedicated to vintage sewing machines, particularly the Singer 301A, provides an invaluable resource for owners. These platforms foster a collaborative environment where users share experiences, troubleshooting tips, and restoration advice. You’ll find detailed discussions on everything from identifying parts to resolving complex mechanical issues.

Many seasoned Singer 301A enthusiasts actively participate, offering guidance based on years of practical knowledge. These communities often host digitized versions of manuals, parts lists, and helpful diagrams, supplementing official documentation. Furthermore, they serve as excellent marketplaces for buying and selling used parts, accessories, and even complete machines. Active participation can significantly enhance your understanding and enjoyment of this classic sewing machine.
Parts Suppliers for the Singer 301A
Locating reliable parts suppliers is crucial for maintaining and restoring your Singer 301A sewing machine. Several specialized retailers cater specifically to vintage Singer machines, offering a wide array of replacement components. “The Old Singer Shop” and “The Singer Featherweight Shop” are frequently cited as reputable sources for both original and reproduction parts.
These suppliers typically stock items like needles, bobbins, belts, and more intricate mechanical parts. Online marketplaces, such as eBay, also feature numerous sellers offering Singer 301A parts, but verifying seller reputation is essential. When ordering, having the part number from your manual or a parts diagram is highly recommended to ensure compatibility and a successful repair.
Wiring Diagram Overview
Understanding the Singer 301A’s wiring diagram is paramount when addressing electrical issues or performing comprehensive repairs. Service and adjuster manuals, like those offered by “The Singer Featherweight Shop” and “The Old Singer Shop”, invariably include detailed wiring schematics. These diagrams illustrate the connections between the motor, switch, light, and other electrical components.
Carefully tracing the wires and identifying each component is essential before attempting any electrical work. Electrical points of wear are often highlighted within these diagrams, indicating areas prone to failure. Always disconnect the machine from the power source before inspecting or repairing the wiring. A clear understanding of the diagram minimizes risks and ensures correct reassembly.
Safety Precautions
Prioritizing safety is crucial when operating, maintaining, or repairing a Singer 301A sewing machine. Always disconnect the machine from the power source before performing any maintenance, including oiling, cleaning, or replacing parts. Never attempt repairs if you are uncomfortable or lack the necessary knowledge; seek professional assistance.
Keep fingers clear of the needle while the machine is running. Avoid loose clothing or jewelry that could become entangled. Ensure the work area is well-lit and free of obstructions. When replacing the needle, always use the correct type and size specified in the manual. Proper grounding is essential to prevent electrical shock. Following these precautions will ensure a safe and enjoyable sewing experience.