
Gree Air Conditioner User Manual: A Comprehensive Guide
Welcome! This detailed manual assists users in maximizing their Gree air conditioner’s performance, covering installation, operation, maintenance, and troubleshooting procedures.
Congratulations on selecting a Gree air conditioning system! This unit is engineered to provide efficient and reliable cooling and heating for your comfort. Gree is a global leader in HVAC technology, dedicated to innovation and quality.
This manual serves as a comprehensive guide to ensure optimal performance and longevity of your new appliance. It details everything from initial setup and daily operation to routine maintenance and troubleshooting. Before using your Gree air conditioner, please carefully read this manual to familiarize yourself with its features and safety precautions. Understanding these guidelines will help you enjoy years of comfortable and efficient climate control.
We are confident that your Gree air conditioner will meet and exceed your expectations.
Safety Precautions
Important Safety Instructions: To prevent fire, electrical shock, or injury, always adhere to these precautions. Never operate the unit with a damaged power cord or plug. Avoid using extension cords. Ensure the air conditioner is properly grounded.
Do not insert objects into the unit, as this could damage the internal components and create a safety hazard. Keep the area around the unit clear of flammable materials. Disconnect the power supply before cleaning or performing maintenance. This appliance is not intended for use by persons (including children) with reduced physical, sensory, or mental capabilities, or lack of experience and knowledge, unless supervised.
Always consult a qualified technician for repairs. Ignoring these warnings could result in serious consequences.
Package Contents & Component Identification

Verify Contents: Upon opening the package, ensure all components are present. You should find the Gree air conditioning unit itself, a remote control (including batteries), an installation kit (brackets, screws, etc.), a user manual, and potentially a window sealing kit depending on the model.
Component Overview: The unit features a front panel, air intake vents, air outlet vents, control panel (physical buttons), and a filter access panel. The remote control includes buttons for power, mode selection, temperature adjustment, and fan speed. Carefully identify each component before proceeding with installation. Retain the packaging for potential future transport or warranty claims.
If any parts are missing or damaged, contact customer support immediately.
Installation Guide
Important Preparation: Before installation, carefully read all safety precautions. Ensure the chosen location can structurally support the unit’s weight. Gather necessary tools: screwdriver, drill (if wall mounting), level, and measuring tape. Verify the electrical outlet meets the unit’s power requirements.
Professional Installation Recommended: While DIY installation is possible, professional installation is strongly advised for optimal performance and safety. Incorrect installation can void the warranty and lead to operational issues. Follow the detailed instructions provided in this manual and the accompanying installation diagrams meticulously.
Double-check all connections before powering on the unit.
Choosing the Right Location
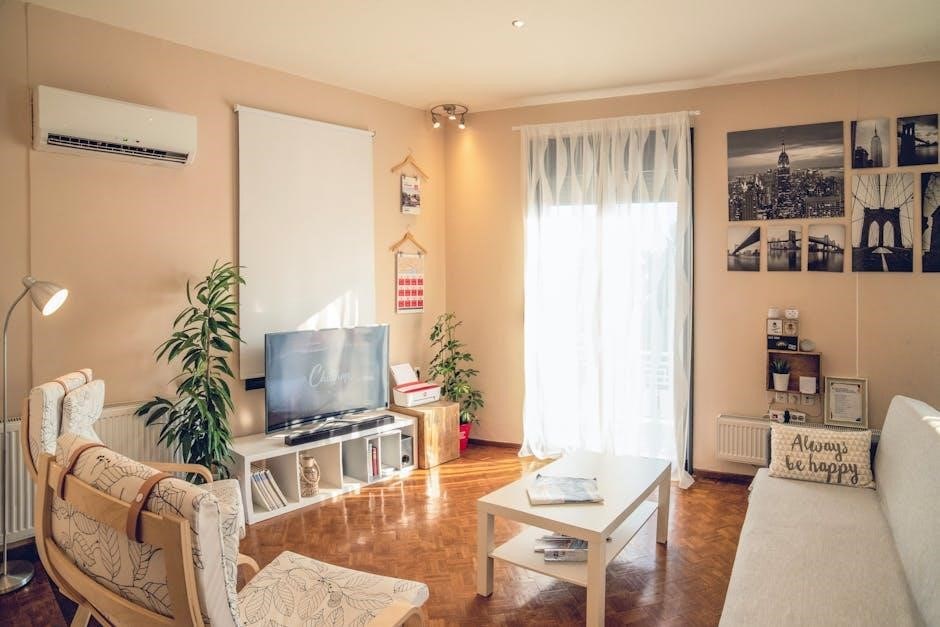
Optimal Airflow is Key: Select a location that allows for unobstructed airflow around the unit. Avoid placing the air conditioner directly in front of curtains, blinds, or furniture. Ensure there’s ample space behind and on the sides for proper ventilation. This maximizes cooling efficiency and prevents overheating.
Structural Support & Sunlight: The mounting surface must be strong enough to support the unit’s weight. Minimize direct sunlight exposure, as this can increase energy consumption. Consider proximity to a grounded electrical outlet – extension cords are generally discouraged for safety reasons.
Noise Considerations: Think about noise levels; avoid locations near bedrooms or areas requiring quiet.
Mounting the Unit (Window/Wall)
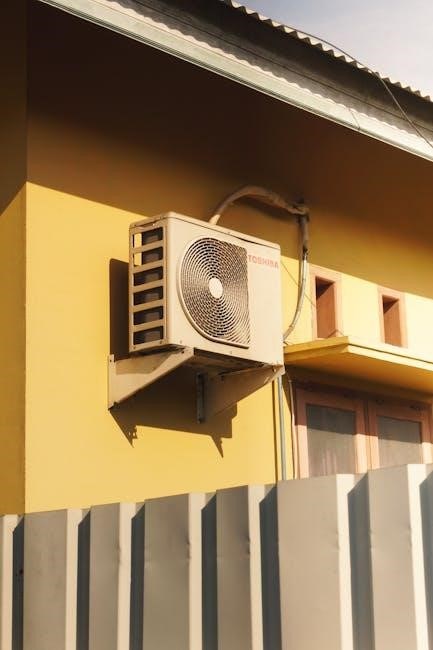
Window Installation: Ensure the window frame is sturdy and can support the unit’s weight. Use the provided mounting brackets and follow the included diagrams carefully. Seal any gaps around the unit with foam insulation to prevent air leaks and improve efficiency. Proper window support is crucial for safety.
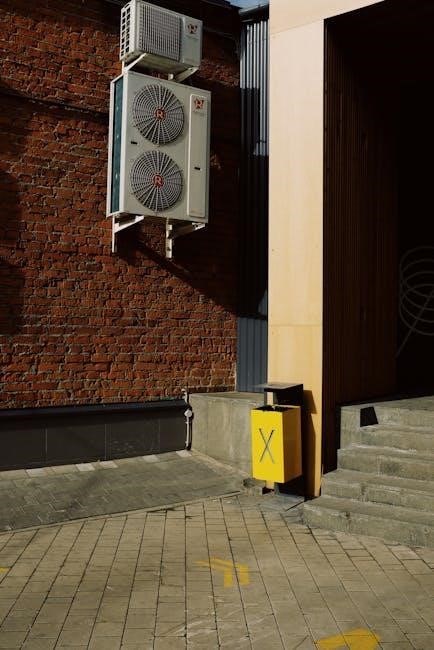
Wall Installation: For wall-mounted units, professional installation is highly recommended. Verify the wall’s structural integrity and ensure proper drainage is available for condensation. Securely mount the unit using appropriate hardware, following local building codes.
Safety First: Always disconnect power before installation. Double-check all connections for stability.
Electrical Connections
Important Safety Warning: Electrical work should only be performed by a qualified electrician. Always disconnect power at the breaker before making any connections. Incorrect wiring can lead to fire or electric shock.
Voltage Requirements: Verify your air conditioner’s voltage requirements (typically 110-120V or 220-240V) match your household supply. Use a dedicated circuit to avoid overloading. A grounded outlet is essential for safety.
Wiring: Connect the power cord securely to the designated outlet. Avoid using extension cords or adapters. Ensure the wiring complies with local electrical codes. Improper connections void the warranty.
Operating Instructions
Initial Startup: After installation, allow the unit to stand upright for several hours before powering on. This ensures proper refrigerant settling. Press the power button on the unit or remote control to initiate operation.
Mode Selection: Utilize the remote to select your desired mode – Cool, Heat, Fan, Dry, or Auto. ‘Auto’ intelligently adjusts settings based on room temperature. Each mode offers distinct functionality for optimal comfort.
Customization: Fine-tune your experience by adjusting the temperature and fan speed. Lower temperatures provide increased cooling, while higher fan speeds circulate air more rapidly. Experiment to find your ideal settings.
Powering On/Off
Initiating Operation: To power on your Gree air conditioner, simply press the ‘Power’ button located on the front panel of the unit or, conveniently, on the remote control. A clear indicator light will illuminate, confirming activation.
Safe Shutdown: To turn off the unit, press the ‘Power’ button again. Allow a few minutes for the system to complete its shutdown sequence. Avoid abruptly disconnecting power, as this could potentially damage internal components.
Standby Mode: When powered off via the remote, the unit enters standby mode, conserving energy while maintaining pre-set settings for quick restart. This feature enhances user convenience.
Mode Selection (Cool, Heat, Fan, Dry, Auto)
Cool Mode: Activates cooling, reducing room temperature. Adjust desired coolness using the temperature controls. Heat Mode: Provides warmth during colder seasons, utilizing the unit’s heating capabilities.
Fan Mode: Circulates air without temperature alteration, ideal for ventilation. Dry Mode: Reduces humidity levels, creating a more comfortable environment, particularly in damp climates.
Auto Mode: Intelligently selects cooling or heating based on ambient temperature, maintaining a pre-set comfort level. Cycle through modes using the ‘Mode’ button on the remote or the unit’s control panel.
Temperature & Fan Speed Adjustment
Temperature Control: Utilize the ‘+’ and ‘-’ buttons on the remote or control panel to set your desired room temperature. The display shows the set temperature. Adjust gradually for optimal comfort. A wider temperature difference increases energy consumption.
Fan Speed: Control airflow intensity with the ‘Fan Speed’ button. Options typically include Auto, Low, Medium, and High. ‘Auto’ adjusts speed based on cooling/heating demand. Lower speeds conserve energy and reduce noise.
Experiment with different settings to find the perfect balance between comfort and efficiency. Remember to consider room size and insulation when making adjustments.
Maintenance & Cleaning
Regular maintenance ensures optimal performance and extends the lifespan of your Gree air conditioner. Filter cleaning is crucial – check and clean filters every two weeks during heavy use. Dirty filters restrict airflow, reducing efficiency and potentially causing malfunctions.
Coil cleaning should be performed at least annually, or more frequently in dusty environments. Use a specialized coil cleaner (available at most hardware stores) and follow the product instructions carefully.
Exterior cleaning involves wiping down the unit with a damp cloth. Avoid harsh chemicals or abrasive cleaners. Proper care guarantees efficient operation and air quality.
Filter Cleaning
Maintaining clean filters is paramount for efficient operation and air quality. Locate the filter access panel – typically on the front of the unit. Remove the filters carefully, noting their orientation for correct reinstallation.
Vacuum the filters to remove loose dust and debris. For a deeper clean, wash the filters with mild soap and lukewarm water. Ensure they are completely dry before reinserting them.
Inspect filters regularly – every two weeks during peak usage is recommended. Replace disposable filters as needed. Clean reusable filters contribute to optimal performance and longevity.
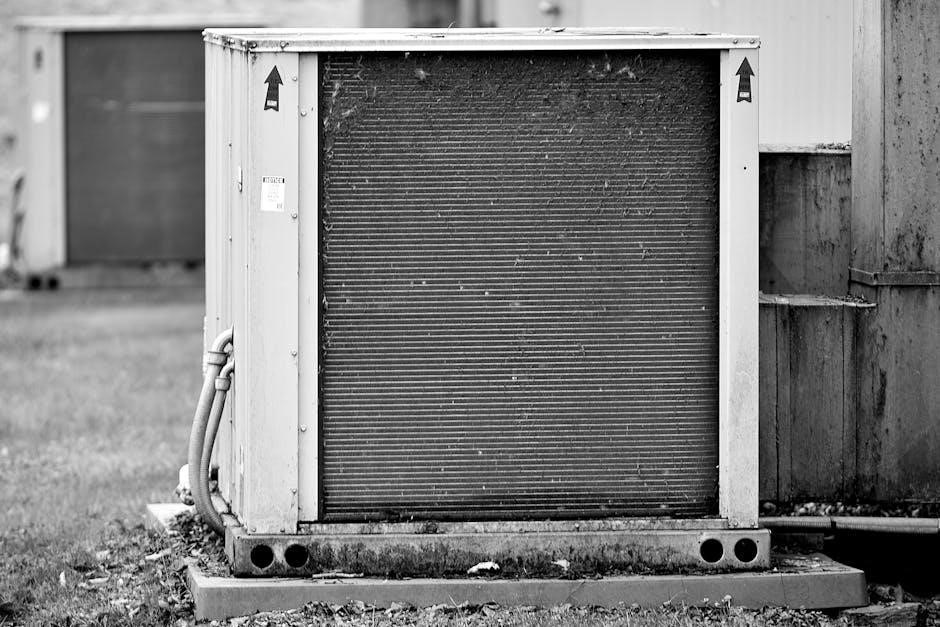
Coil Cleaning
Regular coil cleaning enhances cooling efficiency and extends the lifespan of your Gree air conditioner. Disconnect power before beginning. Locate the indoor and outdoor coils – access panels will need to be removed.
Use a soft brush attachment on your vacuum to gently remove dust and debris from the coils. For stubborn dirt, a commercially available coil cleaner can be applied, following the product’s instructions carefully.
Avoid bending the fins during cleaning. Rinse if necessary, ensuring all cleaner residue is removed and the unit is completely dry before restoring power.
Troubleshooting Common Issues
Air conditioner not cooling? First, check the thermostat settings and ensure the filter is clean. Unit freezing up? This often indicates restricted airflow – replace the filter or clear blocked vents.
Water leaking? Inspect the drain line for clogs and clear it if necessary. Strange noises? Tighten any loose panels or screws. If the issue persists, consult the error code section.
Power issues? Verify the circuit breaker hasn’t tripped. For recurring problems, do not attempt self-repair; contact a qualified technician for assistance to avoid further damage.
Error Codes & Their Meanings
Error Code E1: Sensor failure – contact service. E2: Defrosting failure, potentially a heating component issue. E3: Motor overload protection activated; check fan operation. E4: Refrigerant leak detected – requires professional attention.
E5: Communication board malfunction. E6: Timer malfunction – reset the unit. E7: Temperature sensor error. E8: High-pressure protection activated, indicating a potential blockage.
Remote Control Functions
Power Button: Turns the unit on/off. Mode: Cycles through Cool, Heat (if equipped), Fan, Dry, and Auto modes. Temp +/-: Adjusts the desired temperature. Fan Speed: Selects Low, Medium, High, or Auto fan speeds.
Swing: Controls the vertical louver movement. Timer On/Off: Sets a delayed start or stop time. Sleep: Activates sleep mode for energy saving and comfort. Turbo: Provides rapid cooling or heating.
Reset: Resets the remote settings. Ensure clear line of sight between remote and unit. Replace batteries when the display dims or becomes unresponsive. Refer to the diagram for button locations.
Smart Features & Wi-Fi Connectivity (If Applicable)
Gree Smart App: Download the Gree Smart app (iOS & Android) for remote control via Wi-Fi. Registration: Create an account and register your air conditioner following the in-app instructions.
Remote Access: Control your AC from anywhere with an internet connection. Scheduling: Create custom schedules for automated operation. Voice Control: Compatible with voice assistants like Amazon Alexa and Google Assistant.
Energy Monitoring: Track energy consumption to optimize usage. Ensure a stable 2.4GHz Wi-Fi network. Consult the app’s help section for troubleshooting connectivity issues. Regular app updates ensure optimal performance.
Warranty Information
Limited Warranty: Your Gree air conditioner is covered by a limited warranty against manufacturing defects. The standard warranty period is one (1) year for parts and five (5) years for the compressor, beginning from the date of original purchase.
Warranty Coverage: This warranty covers defects in materials and workmanship under normal use. It does not cover damage from misuse, accidents, or unauthorized repairs. Proof of purchase is required for all warranty claims.
Claim Process: Contact Gree customer support or visit our website to initiate a warranty claim. Unauthorized attempts to repair the unit will void the warranty. See the full warranty document for complete details and exclusions.

Technical Specifications
Model Number: [Insert Model Number Here – varies by unit]. Cooling Capacity: Ranges from 5,000 to 36,000 BTU/h depending on the model. Voltage: Typically 115V or 230V, 60Hz – check the unit’s label. Power Consumption: Varies based on cooling capacity and SEER rating.
Refrigerant Type: R-410A (environmentally friendly). Dimensions: (W x D x H) – specific to each model, see product label. Weight: Varies significantly by BTU rating and features. Noise Level: Typically between 50-60 dB(A).
SEER Rating: (Seasonal Energy Efficiency Ratio) – indicates cooling efficiency. Refer to the unit’s energy guide label for specific values.
Energy Saving Tips
Maximize Efficiency: Regularly clean air filters to ensure optimal airflow and reduce strain on the compressor. Utilize the “Auto” mode, allowing the unit to adjust cooling based on room temperature. Program a timer to operate the AC only when needed, avoiding unnecessary runtime.
Optimize Settings: Raise the thermostat temperature a few degrees; every degree can save energy. Close curtains and blinds during peak sunlight hours to minimize heat gain. Ensure proper insulation in your home to retain cool air.
Smart Usage: Consider using a smart thermostat for remote control and scheduling. Avoid placing heat-generating appliances near the unit.
Disposal Considerations
Responsible Recycling: Your Gree air conditioner contains refrigerants and components requiring specialized disposal methods. Do not discard with regular household waste. Contact your local waste management authority for information on designated recycling facilities.
Refrigerant Handling: Improper refrigerant release harms the environment. Certified technicians must recover refrigerants during disposal. Many retailers offer take-back programs for old appliances, ensuring environmentally sound handling.
Component Recycling: Metals and plastics from the unit can often be recycled. Separate components when possible to facilitate the recycling process. Adhere to all local, state, and federal regulations regarding appliance disposal.